Intro
I’ve been interested in cameras and photography on and off for several years now, originally this involved carrying around an old Pentax K1000 film camera. And whilst I enjoyed the mechanical workings of the camera and the experience of physically operating I found the use of film to be a bit too much of a hassle for a novice and the Pentax was eventually consigned to cupboard of shame full of items from passing interests.
Recently I’ve decided to give it all another go, however this time I chose to narrow things down a little. Firstly I moved to a digital camera for the greater ease of use and reckoned the instant feedback which would let me figure out what I was doing correctly and not-so-correctly much more quickly. The second decision was to focus on macro photography as it’s always been a area of interest and doesn’t neccessarily require much travelling (I must’ve taken 90% of my photos within 1/2 a mile of my home), if you stop and look closely enough you really can find something of interest basically anywhere.
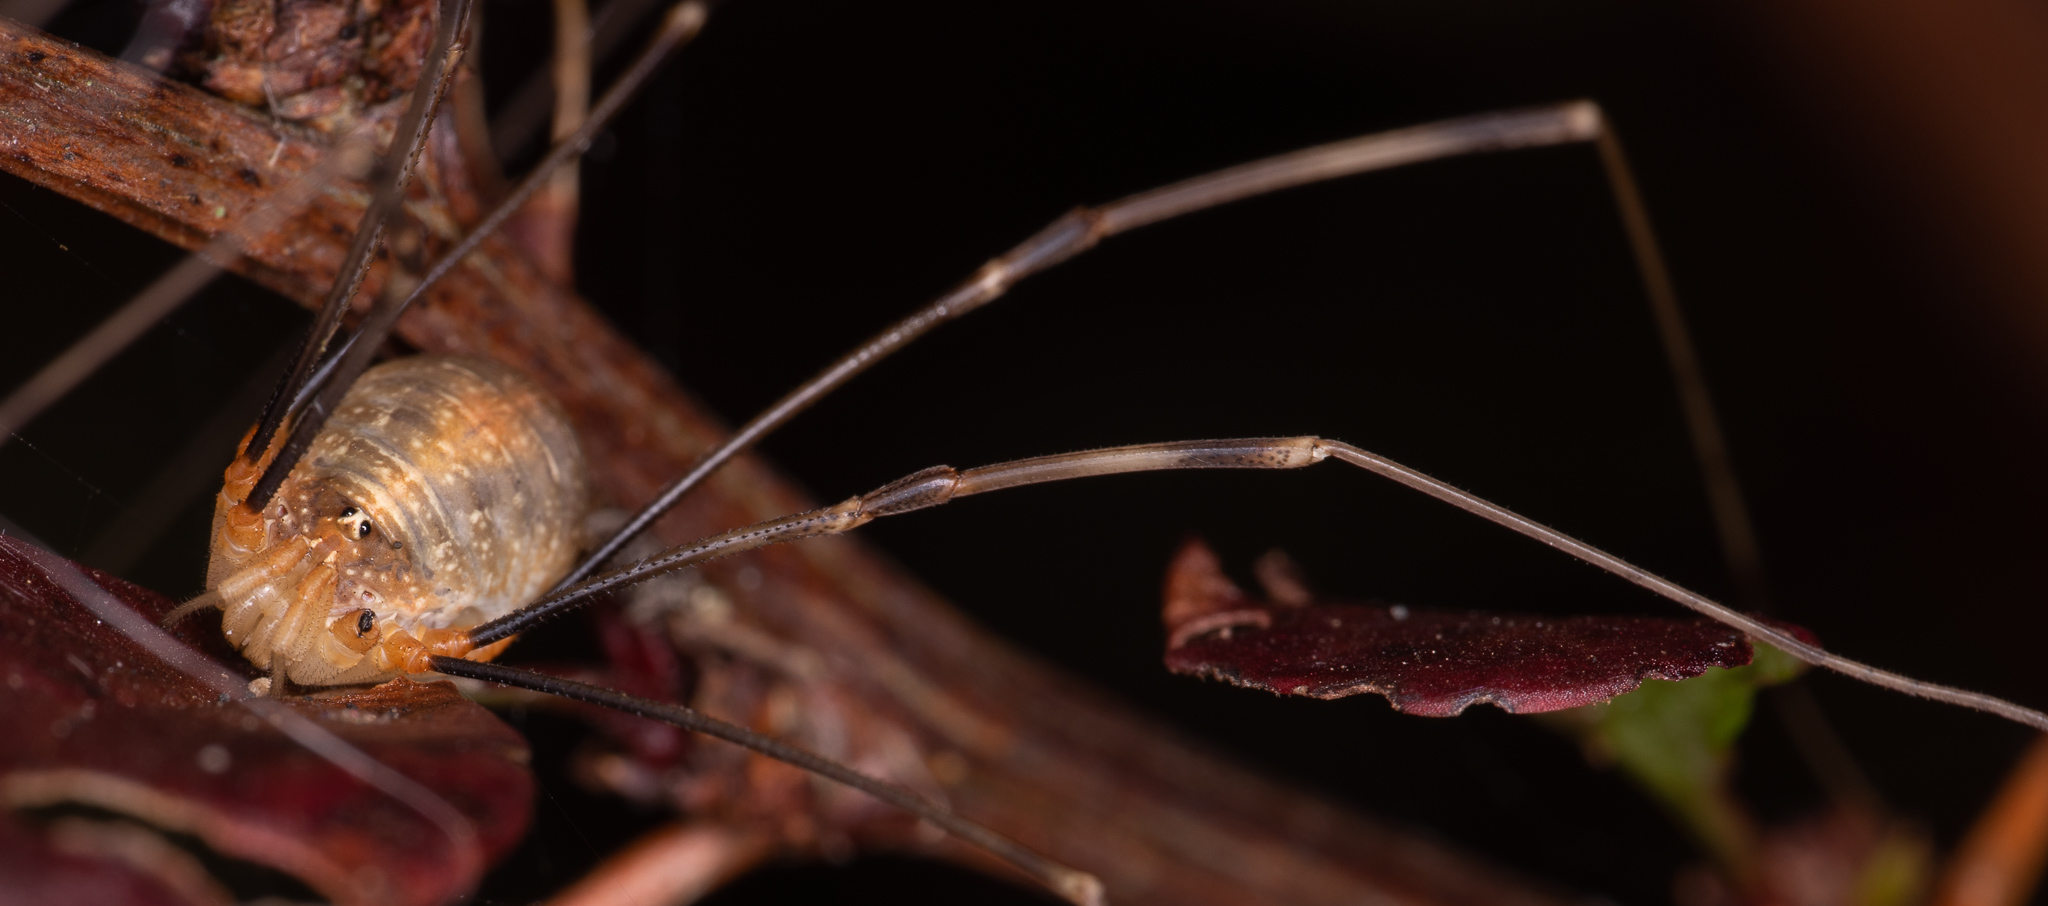 Harvestman spotted last Autumn
This post (likely one of many) is simply an overview of my current setup and any notable pieces of kit I worked through to get there, I don’t claim to be an expert but my experience may be of help to someone looking to get started and wants an idea of what to look for.
Note: I plan to update this post soon with photos of my own equipment once I’ve setup an area to arrange them
Camera Body
I feel the camera body isn’t massively important, as long as it relatively modern and has inter-changeable lenses you should be good to go.
Regarding mirrorless or DSLR’s, there are pros and cons to each which you’ll have to weigh up for yourself, I chose a mirrorless body simply for the portability.
Similarly for sensor sizes (APS-C, Full Frame, Micro Four-Thirds) when starting out it really doesn’t matter much, just take care if purchasing a full frame body that your accompanying lens is also full frame or you’ll see vignetting (the sensor is ’larger’ than the lens)
Personally the first body I picked up was a Sony A6000 which are widely available and pretty affordable as they’re a couple of years old.
Eventually I picked up a Sony A7II which is a full frame body, I tend to use the two interchangeably although the A6000 often gets brought on travels more often due to it being so lightweight
Camera Lenses
I’d really recommend picking up the best macro lens you can afford (look for at least 1:1 magnification) as ideally it’ll carry across between bodies if you upgrade and in the worst case a good quality lens will be easier to sell on if you decide it’s not the hobby for you.
If on a budget there are alternatives, I initially started with a cheap Meike 50mm lens, extension rings and a reversing mount which altogether came in at under £100. This definitely can work however as a complete beginner at the time I did find it difficult and often frustrating which is why I’d suggest saving for another month and getting a proper lens.
I still have a few photos saved from this setup and whilst they’re not very good due to my inexperience at the time they should give a rough idea of the kind of magnification achievable.
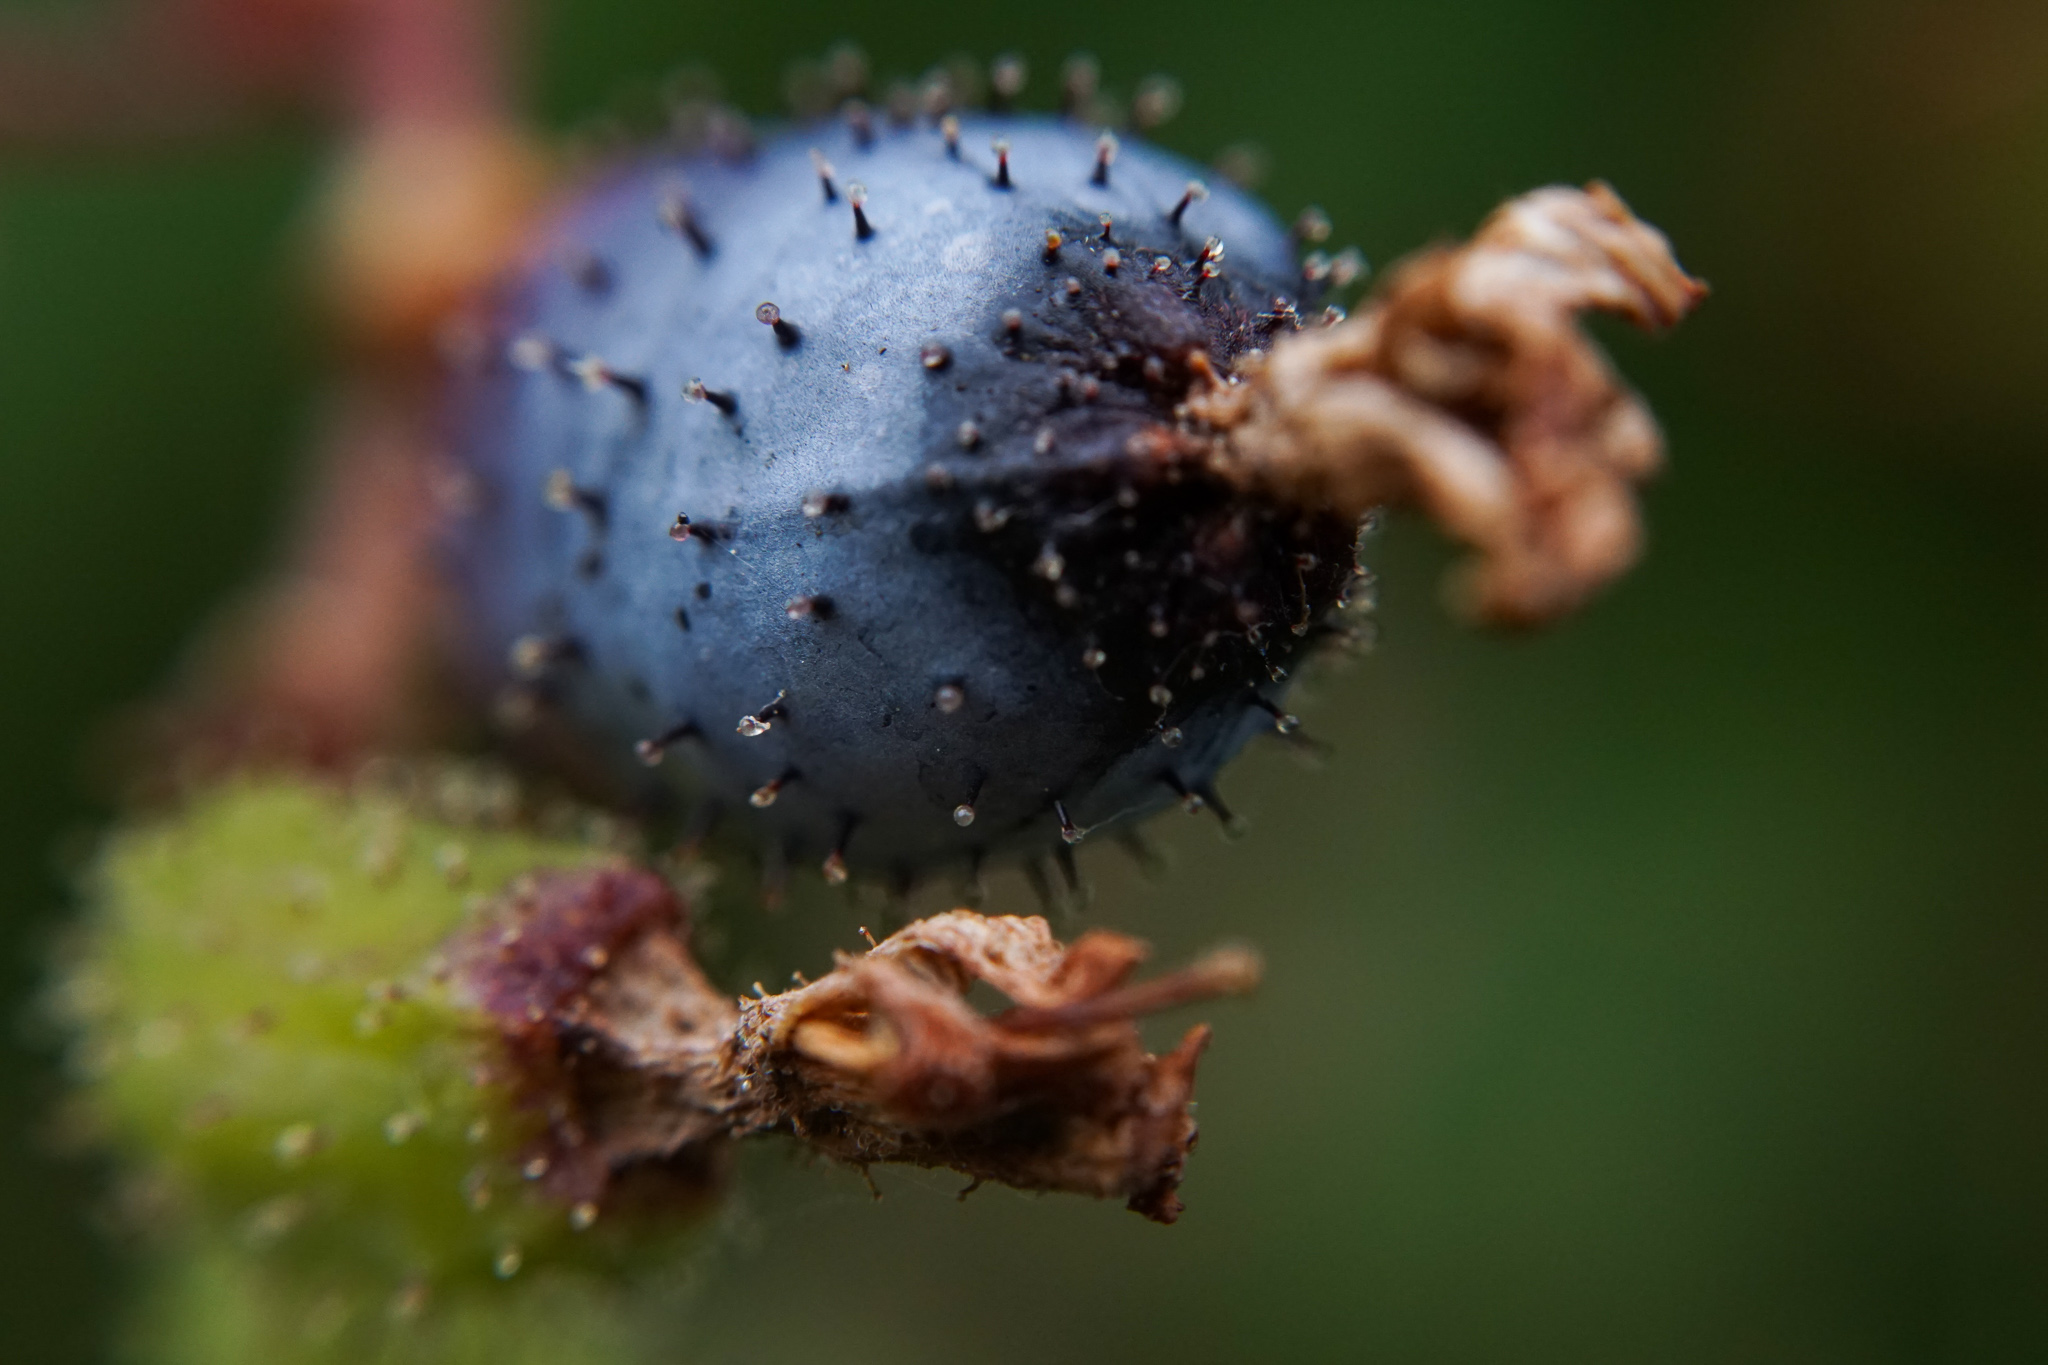 Extension Tube Example
This lasted a few weeks until I was able to get a better lens, which made a world of difference in regards to usability, I’ve since then bought a few other lenses and below will provide a few thoughts on each along with a couple of photos taken on each.
Laowa 65mm x2 Macro Lens (E Mount)
This was the first macro lens I picked up and I’d definitely recommend it as, it’s fairly affordable (in comparison to other lenses), produces great quality photographs and even provides 2:1 magnification which is a bonus. Laowa tend to produce lenses for most bodies (Nikon, Canon, Sony, Fujifilm, Pentax) so it’s very likely there’ll be an equivalent available no matter which body you go for.
Note that these lenses are entirely manual which can take some practice.
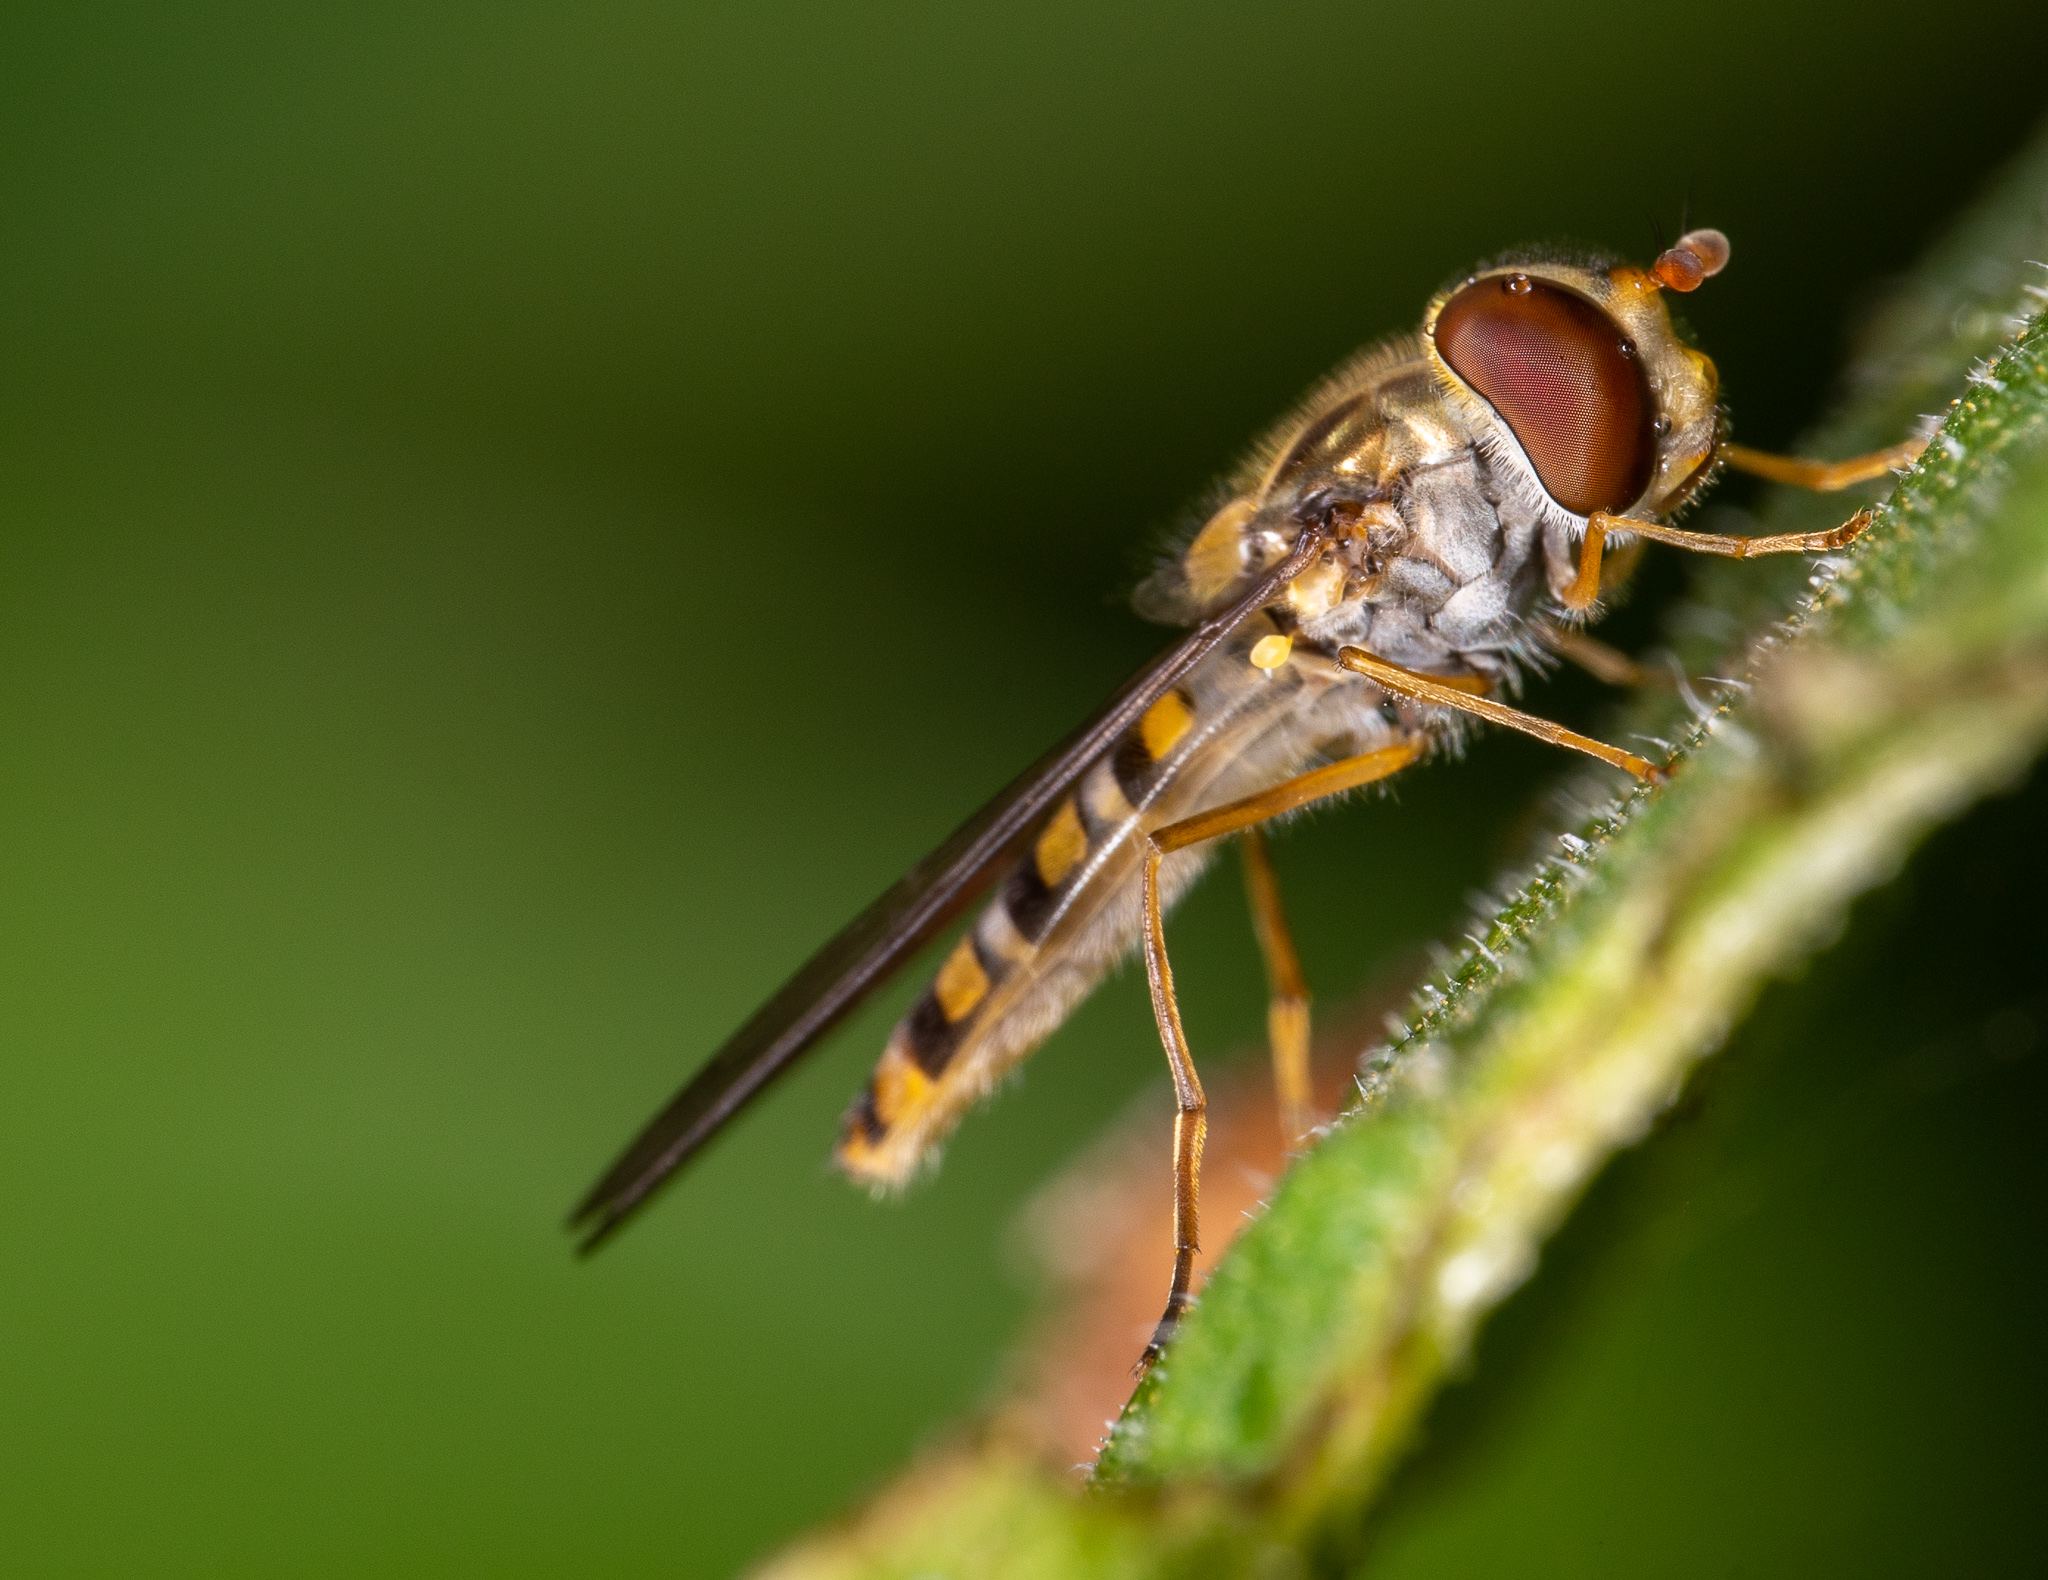
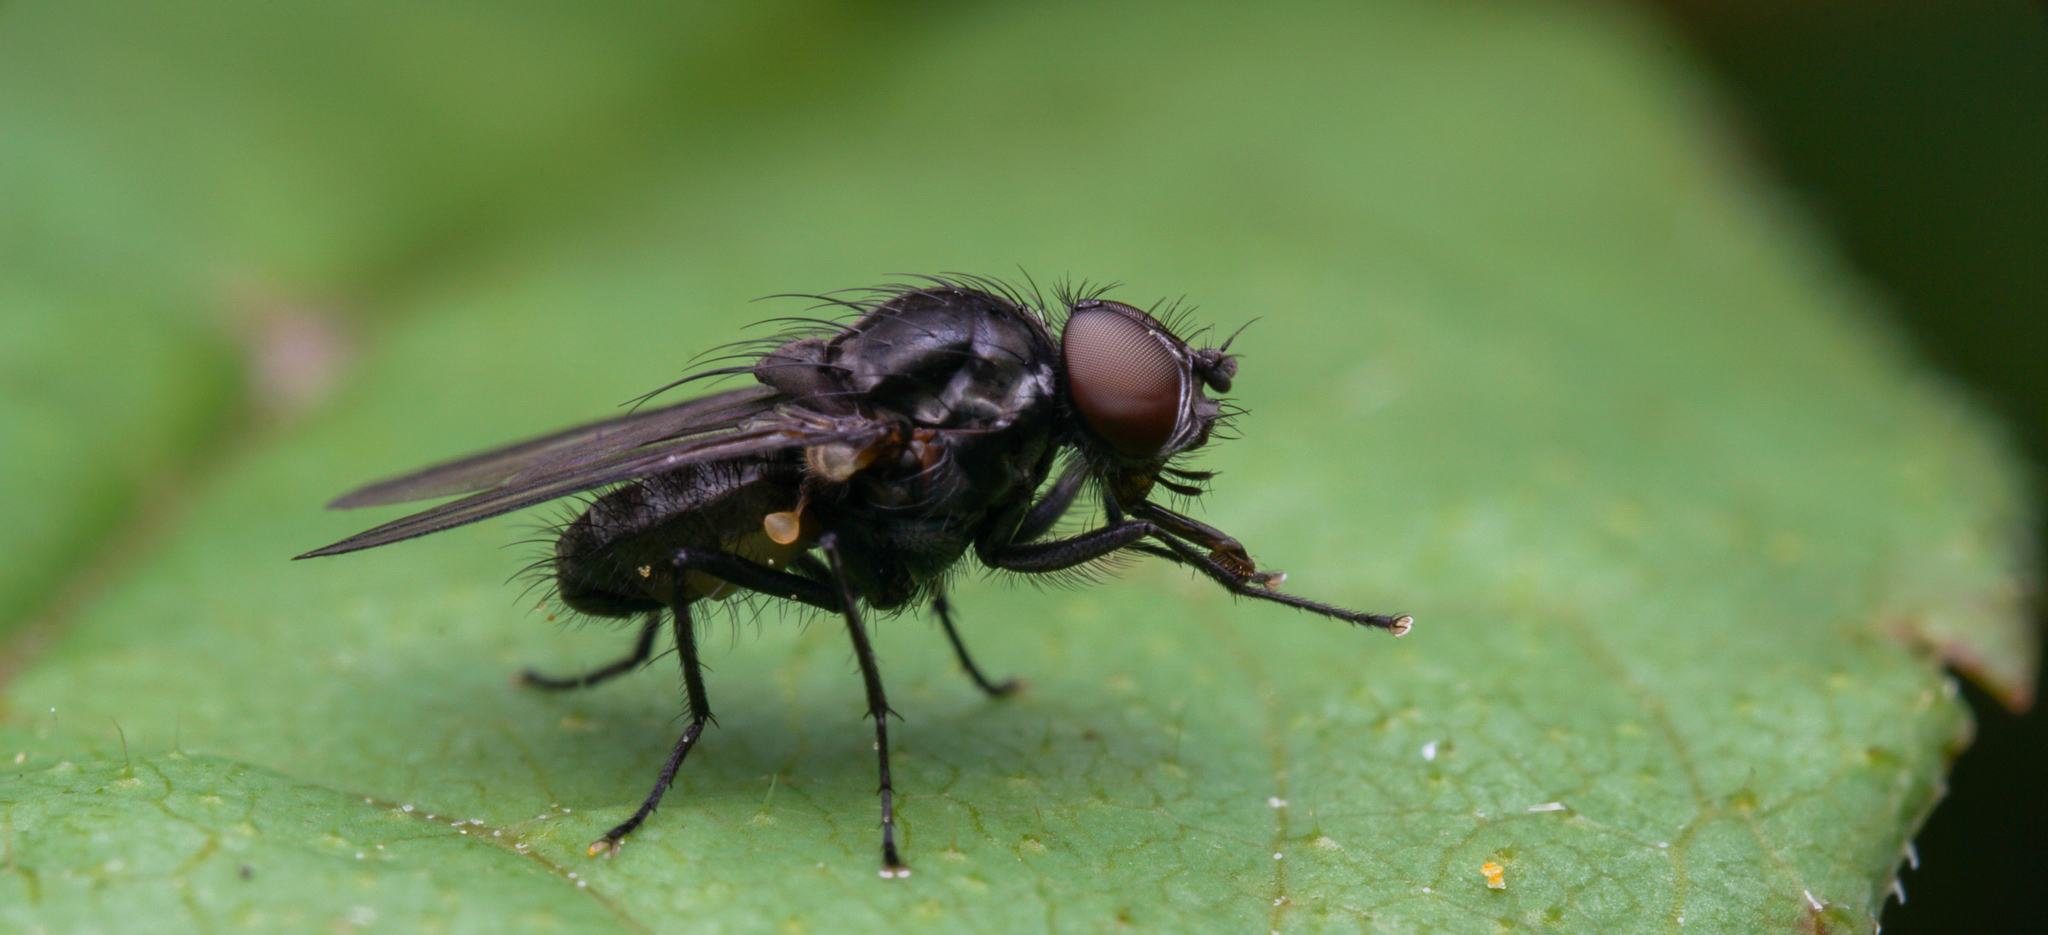 Laowa 65mm - 1
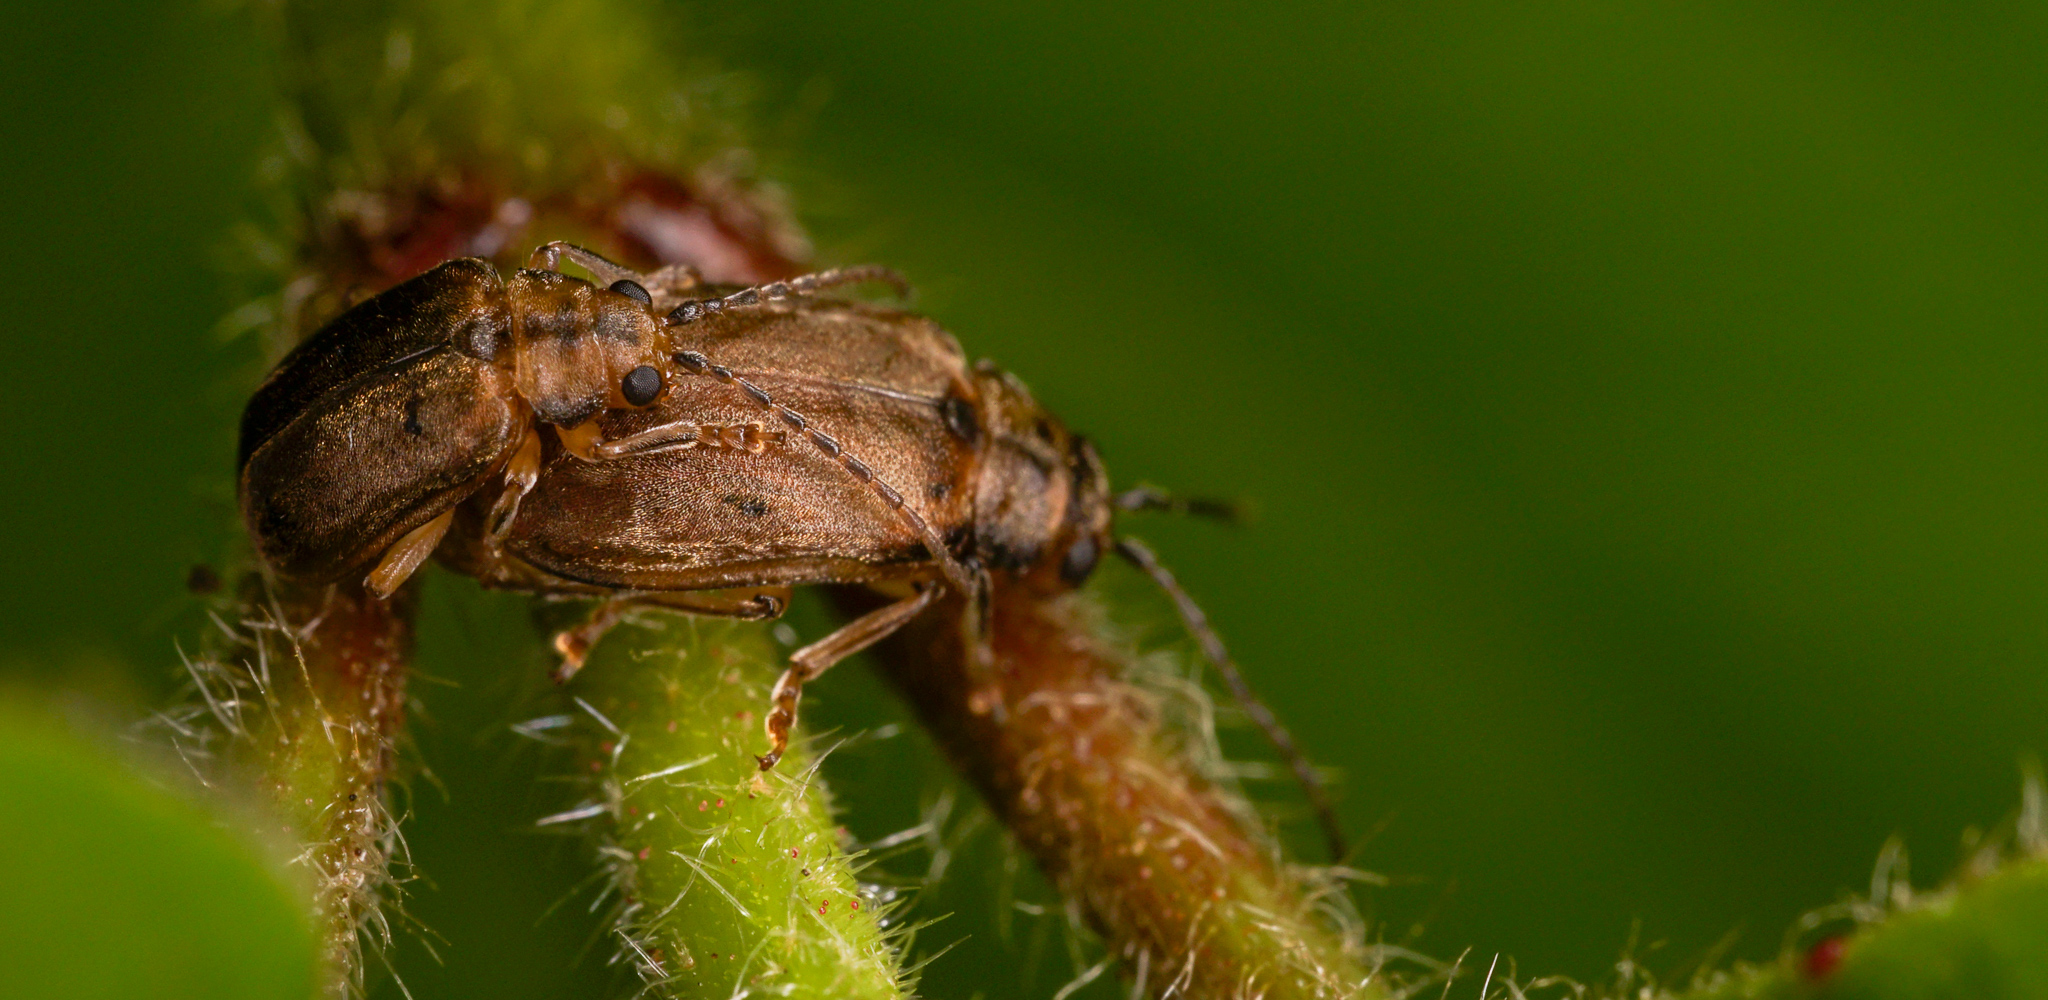 Laowa 65mm - 2
Voigtlander 110mm Macro (EF Mount)
The second lens I purchased was a Voigtlander 110mm to go with an A7II body. Whilst beautifully built and enjoyably tactile as much as I like it I wouldn’t recommend it, it’s entirely manual, expensive and can be unwieldly due to the weight and length especially when at maximum magnification.
 Voigtlander 110mm - 1
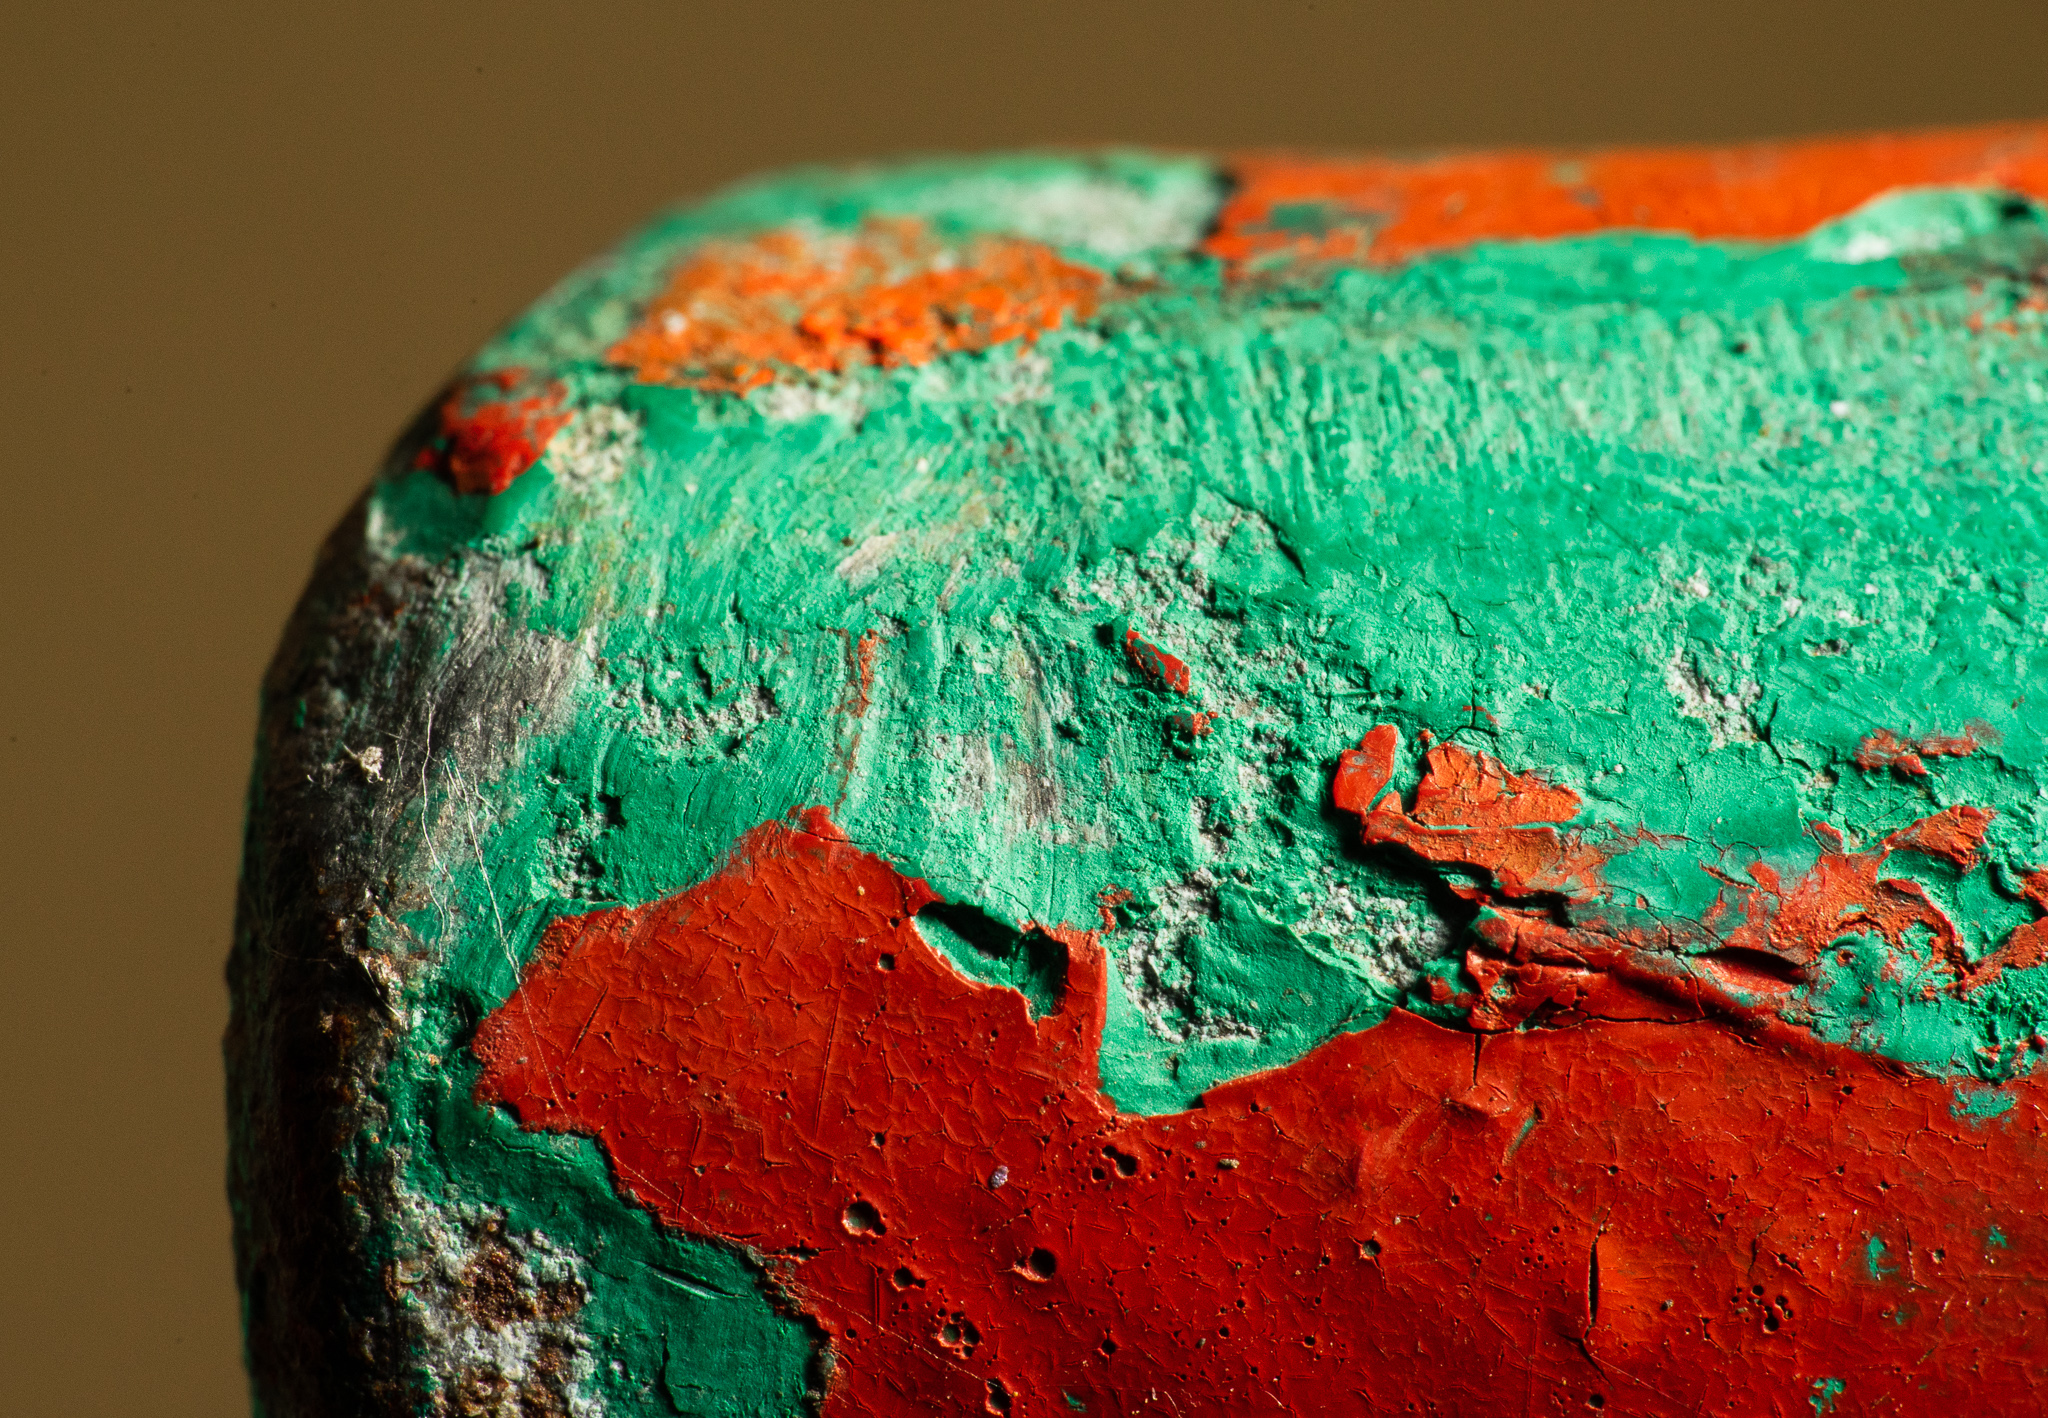 Voigtlander 110mm - 2
Sony 90mm Macro (EF Mount)
This was the lens I had planned to use after the Laowa but the first one arrived broken and I had a lot of difficulty getting it accepted for refund which put me off for a while, recently though I picked one up on sale and after a few weeks use already wish I’d got one a lot sooner.
It’s still an expensive lens but you get a lot for your money:
- Internal focus, unlike the Voigtlander the lens stays at the same length
- Weather sealing
- Autofocus features, admittedly I don’t use these much but they’re nice to have
- Aperture is held wide open until shutter press, this make it so much easier to acquire focus
- Image stabilisation
- A very fine focus ring that allows you to dial in fine focus adjustments
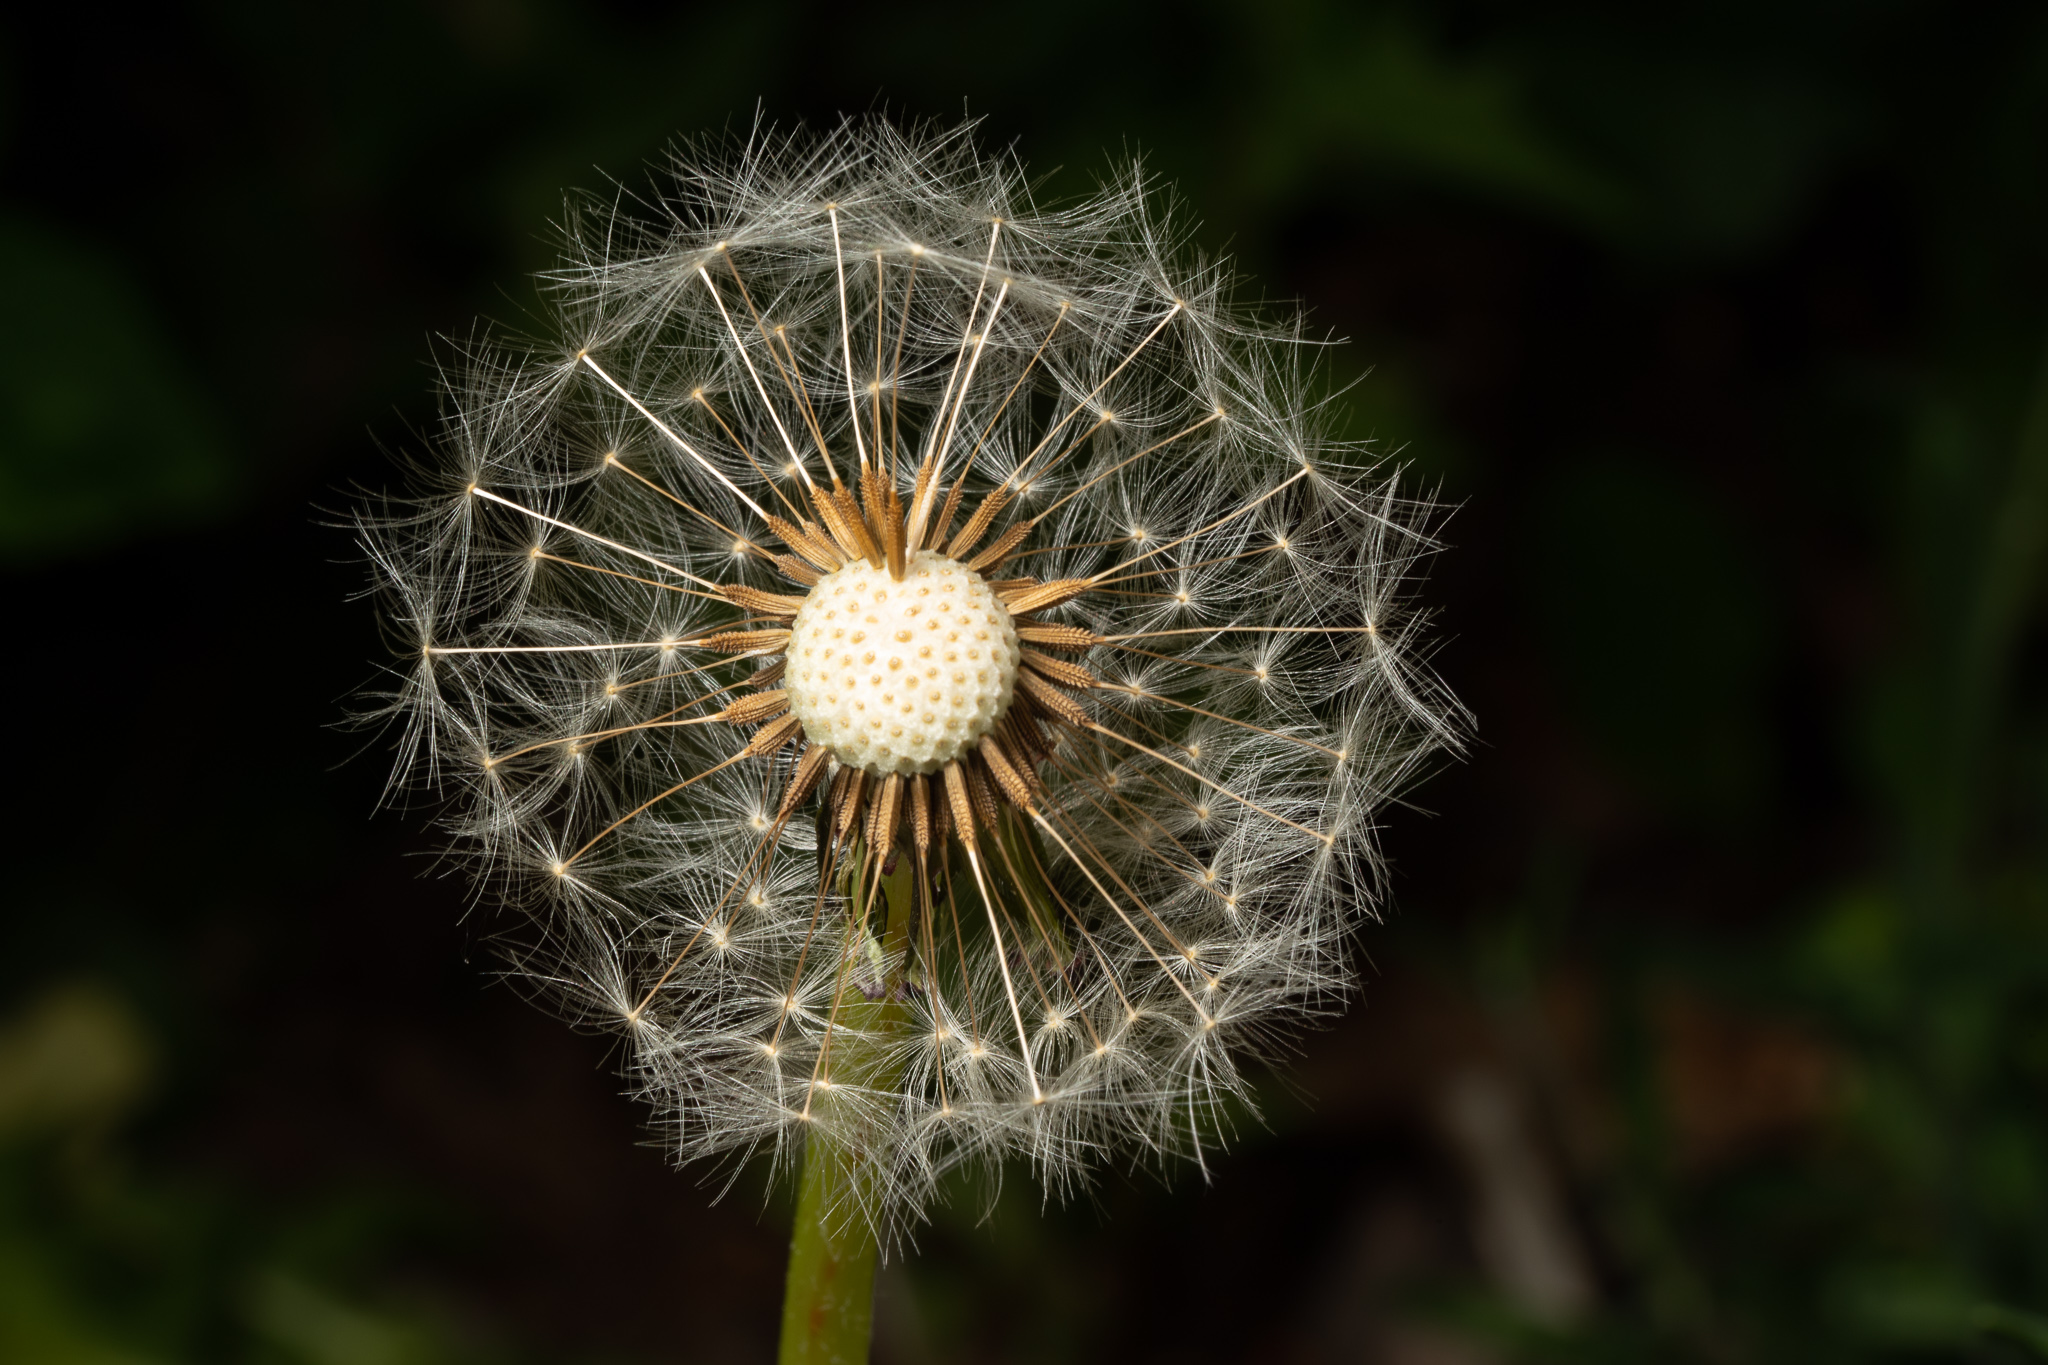 Sony 90mm - 1
 Sony 90mm - 2
Flash Guns
I’ve mainly been interested in handheld macro the past year and as such generally use a flash gun to best allow for quick shutter speeds with large depth of field. This has lead to me spending a small fortune trying various configurations of flash guns and brackets as well as attempting to cobble together my own solutions.
For the sake of brevity I’ll outline a few of the more notable setups, but in general if interested in handheld macro I’d recommend using a flash gun along with a bracket to better position the flash closer to where potential subjects will set as it’ll likely be too far away if sat on the body hotshoe.
Cheap Chinese Flash Guns (Neewer, Meike, etc)
I’d avoid these if possible, as you generally do get what you pay for. I’ve been through a couple now and found that they’ll work perfectly fine for a while before failing entirely, by the end of it you’ve spent the same amount replacing them as it’d cost to have purchased a higher quality flash to start with.
Nissin Ring Flash
This is a really nice unit and very simple to use, just clip to the end of your camera and away you go no need to worry about brackets. It provides a lot of configuration options allowing for different lighting effects, e.g. disable half of the ring to create side lighting.
The Nissin was my go to for a many months but did eventually move away as it could be a bit bulky when trying to carefully position the camera, the circular shape also leaves very obvious ring catch lights which I personally find a bit offputting.
Meike MK MT24
Somewhat similar to the ring flash, this unit consists of two small flash guns mounted to a ring that fixes to the end of the camera. Unfortunately the unit I ordered failed within a couple hours resulting in the flash gun failing to fire so I wouldn’t recommend this unit.
Sony HVL-FM32
A perfectly fine flash gun however I found it a bit too big and heavy for macro, especially with many of the early brackets I used it’d often sag over time due to the weight.
Sony HVL-F28RM
These are basically a smaller version of the FM32 and a good bit lighter, I’ve been using one of these for several months now without issue they provide plenty of light and the lower weight doesn’t strain the bracket and the smaller size doesn’t get in the way too much. The F28’s can also be controlled wirelessly with a commander unit which simplifies my setup further and opens up the possiblity of incorporating a second.
Flash Brackets
I find it best to use a bracket to better position the flash so it’s closer to the subject and also off center to the left or right to provide more interesting side lighting rather than flat/frontal lighting. I’ve also been through a bunch of brackets, again I’ll outline a few of the more noticeable ones.
GorillaPod Arm
I found these to be a bit too short and also unable to hold position without sagging (although at the time I was using a heavier flash gun)
Flexible Dual Arm Bracket
Avoid these, they’re very stiff and difficult to position one of the arms on my unit broke off after fairly light use.
Fotopro Dual Arm
This is a really good bracket/arm, the locking arm ball-joints allow for a lot of flexibility in terms of positioning and keeps things much more secure than the earlier ‘bendy’ arm types I’d used previously however they were a bit fiddly to rearrange as each joint needed loosening and re-tightening.
Wimberley Bracket
Took me a while to pull the trigger on these as they are expensive however I’ve been using one for a few months now and wish I’d bought one from the get go. The arm is very easy to rearrange requiring a single turn of a screw and locking it is just as easy. Once locked the arm is incredibly stable and I’ve never seen it budge.
Flash diffusion
I won’t go into too much detail on diffusers in this post, but generally I’ve found the larger the area of the diffuser the better. Avoid the little plastic flash caps or the small ‘bag’ covers as they don’t make much of a difference.
There’s a whole range of DIY diffusers you can make that will make a big difference over just standard flash one of the simplest being some tracing paper or velum taped to the lens so it stands vertically in front of the flash.
Currently I use a LumiQuest diffuser which gets the job done but I will be looking to replace it either with a DIY setup or an alternate product sometime this year.
Accessories
Along with the main components above there are a few accessories I’ve made use of which I’ll list below
Vello Off-Camera Flash Cord
Mounting the flash off camera is great but if it’s not wireless you need a way to connect it back to the hotshoe. I spent a long time trying to find an off-camera flash cord for Sony and after a few duds came across the Vello which worked perfectly
Smallrig Bracket / Cage
One thing that annoys me about the Sony cameras is there’s no place for your little finger to rest it just floats under the camera, using a Smallrig bracket helps make the camera feel a bit more comfortable to hold. They also provide extra mounting points for flash brackets and tripods and the extra ‘height’ added makes it easier to fit a Wimberley bracket under the lens.
Sony FA-WRC1M Radio Commander
This unit sits in the hotshoe and can remotely trigger any linked flash guns, I picked this up to get rid of the Vello wire and for the ability to detach and hand hold flashes for better positioning.
Raynox Magnifiers
These are really neat magnifier lenses that simply clip onto the end of your camera. Great to carry about in a pocket and bring out if you find something of interest that’d you’d like to get a little closer too.
I’d recommend the DCR 150 to start out with especially for handheld work.
Conclusion
There you have it, a quick rundown of my kit. I do plan to write up some more in depth posts in the future on macro, perhaps covering some of the basic techniques or diffusers I’m also hoping to pick up a tripod and try out focus stacking so those findings may be interesting to writeup. Any questions feel free to email me at the address below.
 Thanks for reading!